


How to attach aluminum fence to wood post
 Mar 12, 2026|
 View:640
Installing an aluminum fence is a popular choice for homeowners seeking a durable, low-maintenance, and aesthetically pleasing fencing solution. Aluminum fences are lightweight, corrosion-resistant, and available in various styles, making them suitable for gardens, pools, or property boundaries. However, attaching an aluminum fence to wooden posts requires careful planning and execution to ensure stability, longevity, and safety. Unlike metal or concrete posts, wood posts are susceptible to rot, warping, and insect damage, which can compromise the integrity of the fence if not properly secured. This guide will walk you through the step-by-step process of attaching an aluminum fence to wood posts, highlight critical precautions, and offer tips to achieve a professional finish.
Part 1: How to Attach Aluminum Fence to Wood Post
Step 1: Gather Tools and Materials
Before starting, ensure you have the following tools and materials:
Aluminum fence panels and matching posts (or standalone wood posts if using pre-fabricated panels).
Wood posts (treated lumber, cedar, or redwood recommended for outdoor use).
Screws or fence brackets designed for aluminum-to-wood connections.
Power drill with bits (Philips head or square drive).
Level, measuring tape, and carpenter’s square.
Post hole digger (if installing new wood posts).
Concrete mix (for stabilizing posts).
Hacksaw or angle grinder (to trim aluminum rails if needed).
Safety gear: gloves, goggles, and work boots.
Step 2: Prepare the Wood Posts
1.Install Wood Posts Securely:
If replacing existing posts or starting from scratch, dig holes at least 24–30 inches deep and 10–12 inches in diameter. Place the wood post in the hole, ensure it’s plumb (vertical) using a level, and brace it temporarily. Pour concrete around the post, filling the hole to ground level. Allow the concrete to cure for 24–48 hours.
Pro Tip: For added durability, use pressure-treated wood rated for ground contact to resist rot and pests.
2.Trim Posts to Height:
Measure the height of your aluminum fence panels and mark the wood posts accordingly. Use a saw to cut the posts to the desired height, ensuring all posts are uniform.
3.Seal or Paint Wood Posts:
Apply a weatherproof sealant or exterior paint to protect the wood from moisture and UV damage. This step extends the lifespan of both the posts and the aluminum fence connection.
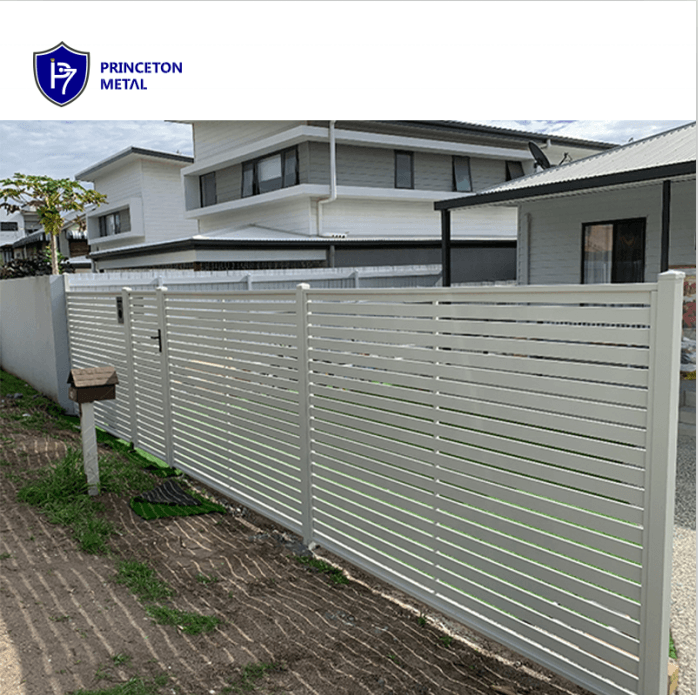
Step 3: Attach Aluminum Fence to Wood Posts
1.Position the Fence Panel:
Place the aluminum fence panel against the first wood post. Align the bottom rail with the marked height on the post. Use a level to ensure the panel is straight horizontally and vertically.
2.Use Fence Brackets or Screws:
Option 1: Fence Brackets
Many aluminum fence systems come with U-shaped brackets designed to clamp the fence rails to the post. Slide the brackets over the aluminum rails, position them against the wood post, and drill pilot holes through the bracket and into the wood. Secure with corrosion-resistant screws (e.g., stainless steel or galvanized).
Option 2: Direct Screwing
If brackets aren’t available, drill pilot holes through the aluminum rails into the wood post. Use screws long enough to penetrate the wood by at least 1 inch but not so long that they pierce through the opposite side.
3.Repeat for All Rails and Panels:
Attach the top and middle rails (if applicable) to each wood post using the same method. Ensure consistent spacing between rails and posts for a balanced appearance.
4.Secure Fence Pickets (If Applicable):
Some aluminum fences have individual pickets that slide into pre-drilled holes in the rails. Ensure these are firmly seated and aligned before tightening any screws.
Step 4: Final Adjustments
Walk along the fence line to check for gaps or misalignment.
Tighten any loose screws or brackets.
If the ground is uneven, adjust the fence panels by trimming the bottom rails with a hacksaw or installing adjustable fence feet (if compatible with your aluminum fence model).
Part 2: Key Considerations When Attaching Aluminum Fence to Wood Post
1.Material Compatibility:
Aluminum and wood expand and contract at different rates due to temperature changes. Use flexible fasteners or brackets to accommodate this movement without cracking the aluminum or loosening the connection.
2.Corrosion Resistance:
Opt for stainless steel or galvanized screws to prevent rust, which can stain the aluminum fence and weaken the joint over time.
3.Post Stability:
Wood posts must be anchored deeply in concrete to withstand wind, impact, or the weight of the aluminum fence. Sagging or leaning posts will distort the fence line.
4.Local Regulations:
Check building codes and homeowners’ association rules regarding fence height, spacing, and materials. Some areas require permits for fences over a certain height.
5.Gate Installation:
If installing an aluminum gate, reinforce the adjacent wood posts with additional concrete or metal posts to handle the gate’s weight and frequent opening/closing.
Conclusion
Attaching an aluminum fence to wood posts combines the durability of aluminum with the affordability and versatility of wood. By following the steps outlined above—preparing the wood posts correctly, using appropriate fasteners, and accounting for environmental factors—you can create a secure, long-lasting fence that enhances your property’s curb appeal. Remember to prioritize corrosion-resistant materials and regular maintenance, such as repainting wood posts and inspecting screws, to prolong the life of your aluminum fence. Whether for security, privacy, or decorative purposes, a well-installed aluminum fence on wood posts is a smart investment that offers both functionality and style.