


How to install freedom aluminum fence
 Sep 29, 2025|
 View:645
Aluminum fences have become a popular choice for residential and commercial properties due to their durability, low maintenance, and aesthetic appeal. Freedom, a leading manufacturer in the fencing industry, offers pre-assembled aluminum fence panels that simplify installation while maintaining high-quality standards. Whether you're securing a backyard, enclosing a pool, or enhancing curb appeal, installing a Freedom aluminum fence requires careful planning, precise execution, and adherence to safety protocols. This guide provides a comprehensive overview of the installation process, from preparation to final adjustments.
Part 1: Preparation and Planning
1.1Assess the Site and Measurements
Before purchasing materials, conduct a thorough site assessment. Measure the perimeter where the aluminum fence will be installed, accounting for slopes, corners, and gates. Freedom aluminum fences are typically sold in 6-foot-wide sections, so divide the total length by 6 to determine the number of panels needed. For sloped terrain, consider using swivel brackets or adjustable posts to maintain a level appearance. If the property line is irregular, use string lines and stakes to mark the fence path, ensuring alignment with property markers.
1.2Gather Tools and Materials
Essential tools include:
Post hole digger or auger
Level and plumb line
Rubber mallet
Drill with 3/32-inch bit
Screwdriver
Tape measure
Concrete mix (fast-setting recommended)
Safety goggles and gloves
Freedom provides pre-assembled panels, posts (corner, end, and line), gate frames, hinges, and screws. Optional accessories include post caps, decorative finials, and self-closing gate hardware.
1.3Check Local Regulations
Consult local building codes and homeowners’ association (HOA) guidelines. Some areas require permits for fence installations, specify maximum heights, or mandate setbacks from property lines. Freedom aluminum fences often comply with BOCA (Building Officials and Code Administrators) standards, but verify compliance with local rules to avoid fines.
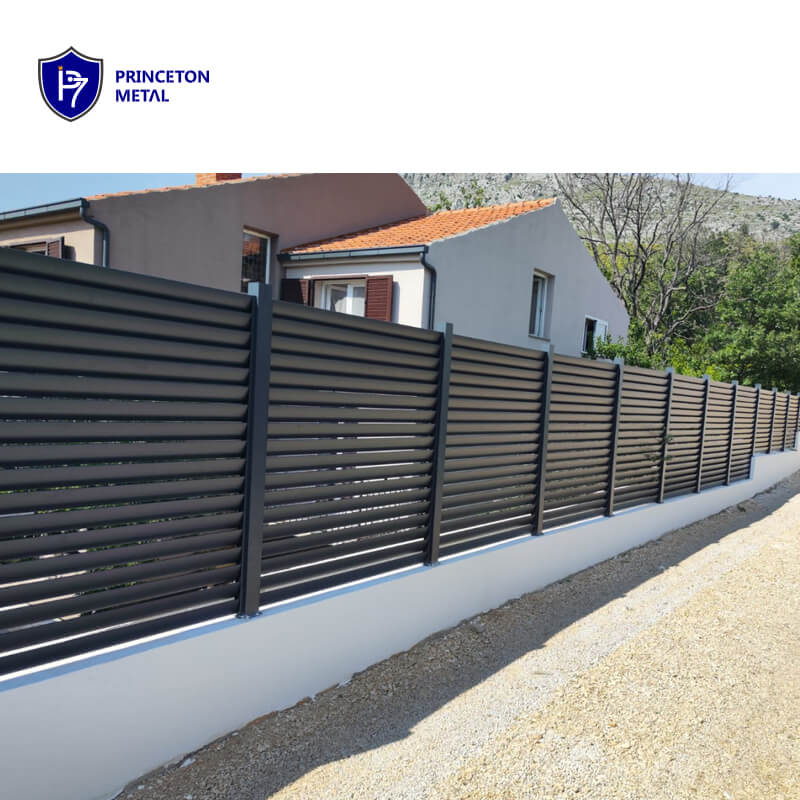
Part 2: Installation Steps
2.1Mark and Dig Post Holes
Using the string line as a guide, mark post locations every 6 feet (or as specified by the panel width). Dig holes 24–30 inches deep and 8–10 inches wide, ensuring consistency. For corner posts, dig slightly deeper to accommodate additional reinforcement. Augers can expedite this process, especially in hard soil.
2.2Set Posts in Concrete
Place the first post (preferably an end or corner post) in the hole. Use a level to check plumbness on two adjacent sides, adjusting with gravel or shims if needed. Align the post with the string line. Mix fast-setting concrete according to package instructions and pour into the hole, filling to ground level. Repeat for all posts, bracing them temporarily if necessary. Allow concrete to cure for 24–48 hours.
2.3Install Fence Panels
Once posts are stable, insert the first panel into the pre-punched holes of the initial post. Ensure the panel is fully seated. Slide the next post onto the opposite end of the panel, aligning it with the string line. Repeat the process, checking for levelness and spacing between panels. For sloped areas, use a step method (staggering panel heights) or rackable panels that follow the ground contour.
2.4Attach Gates
For single gates, add ¼ inch to the opening width to prevent rubbing. Position hinges 6 inches from the top and bottom of the gate frame, marking pilot holes. Pre-drill and secure hinges with 1-inch screws. Hang the gate, adjusting tension pins (if self-closing) by turning them ¼ turn toward the “+” symbol to tighten or “–” to loosen. Avoid over-tightening, as this may disable the self-closing feature.
2.5Final Adjustments
Inspect the fence for gaps, misalignments, or loose components. Tighten all screws and ensure panels are secure. Install post caps to protect against water damage and add a polished finish.
Part 3: Key Considerations
3.1Safety First
Wear safety goggles when drilling or cutting. Use gloves to handle sharp metal edges. Follow concrete mix instructions to avoid chemical burns. If using power tools, ensure they are in good working condition.
3.2Post Stability
Gate posts must bear significant weight. Reinforce them with extra concrete or bracing. For soft soil, consider deeper holes or gravel backfill to prevent settling.
3.3Handling Slopes and Angles
Freedom aluminum fences accommodate mild slopes (up to 5 degrees) with standard posts. For steeper angles, use swivel brackets to adjust panels without bending. Measure twice before cutting panels to avoid waste.
3.4Aesthetic Consistency
Align decorative elements (e.g., finials) uniformly. Space panels evenly to maintain symmetry. For long fences, step panels at intervals to follow natural grades subtly.
Conclusion
Installing a Freedom aluminum fence combines practicality with elegance, offering long-term security and minimal upkeep. By following these steps—meticulous preparation, precise post placement, and careful panel alignment—you can achieve a professional finish. Remember to prioritize safety, adhere to local codes, and leverage Freedom’s pre-assembled design to streamline the process. Whether for residential privacy or commercial boundaries, a well-installed aluminum fence enhances property value and peace of mind. With the right tools and attention to detail, your Freedom aluminum fence will stand as a durable and attractive feature for years to come.